

How to Stop Foundation from Caking: 7 Steps
Table of Contents
- Why Foundation Cakes: The Real Causes
- How to Prep Skin for Foundation the Right Way
- Choosing the Right Foundation Formula to Prevent Caking
- Best Tools for Foundation Application
- Applying Foundation in Thin, Buildable Layers
- Setting Powder vs. Setting Spray for Dry Skin
- How to Fix Cakey Foundation After Application
- Conclusion
Last Updated: August 15, 2026
Why Foundation Cakes: The Real Causes
Foundation caking is a compatibility problem, not a product flaw. When foundation sits on skin rather than melting into it, the result is a cracked, patchy finish that worsens throughout the day.
The most overlooked cause is dry, dehydrated skin. Without adequate moisture, foundation has nothing to grip and settles into fine lines, flakes, and dry patches, then shifts and cracks as the day progresses. A second major culprit is product buildup, applying too much foundation in one pass or layering it over skincare that hasn't fully absorbed creates a thick film that separates from skin rather than bonding with it.
Ingredient Incompatibility: Silicone-Based vs. Water-Based Products
Silicone-based and water-based products do not layer well together. When a water-based foundation goes over a silicone-based primer (or vice versa), the formulas repel each other instead of bonding, resulting in a pilled, patchy texture that no blending technique can fix.
Match your layers: use water-based primer under water-based foundation, and silicone-based primer under silicone-based foundation. Check ingredient lists for dimethicone or cyclopentasiloxane (silicone) versus aqua or glycerin (water-based). According to American Academy of Dermatology guidance on skincare ingredients, understanding how ingredients interact is fundamental to building an effective routine.
Pilling also occurs when emollient-heavy moisturizers haven't fully absorbed before primer application. Give each layer at least 60 seconds to settle before moving to the next product.
Product Expiration and Texture Changes
An expired foundation is a caking foundation. Over time, emulsifiers break down, and texture becomes thicker, grainier, or separated. Most liquid foundations have a shelf life of 12 to 24 months after opening, indicated by the open-jar symbol on packaging. If your foundation smells different, has changed consistency, or no longer blends smoothly, replace it.
How to Prep Skin for Foundation the Right Way
Proper skin preparation is responsible for roughly 80% of how your foundation performs. Application technique cannot rescue a poorly prepped base.
Hydration and Barrier Repair
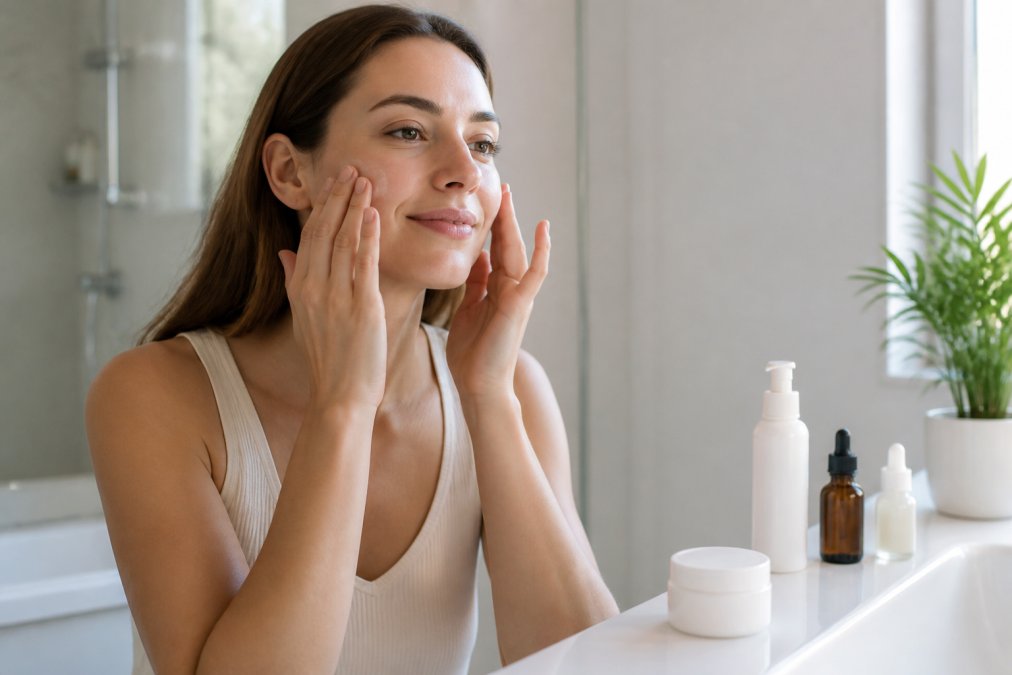
Hydrated skin holds foundation better. When the skin's barrier is compromised, tight, flaky, or visibly dehydrated, foundation oxidizes faster and breaks down mid-day. Start with a moisturizer suited to your skin type: lightweight gel for oily skin, cream or emollient-rich formula for dry and mature skin.
For dry or sensitive skin, prioritize barrier repair. Look for ceramides, hyaluronic acid, and niacinamide, which restore the skin's protective layer and improve moisture retention. The National Eczema Association's guide to barrier repair explains how a compromised barrier affects product performance.
Apply moisturizer to slightly damp skin to lock in hydration, then wait at least two minutes before applying primer or foundation.
Exfoliation for a Smooth Canvas
Exfoliation removes dead skin cells that cause foundation to look patchy and flaky. Aim to exfoliate two to three times per week using a gentle physical exfoliant or chemical option like lactic acid or mandelic acid.
Over-exfoliating disrupts the barrier, which paradoxically makes caking worse by triggering excess sebum in oily skin and increased dryness in others. Gentle, consistent exfoliation outperforms aggressive, infrequent sessions.
Choosing and Applying Primer by Skin Type
Primer is the bridge between skincare and foundation. The right primer fills pores, controls sebum, and creates a surface that foundation can adhere to.
- Oily skin: Choose a mattifying, pore-filling primer with silica or kaolin clay base to control sebum and prevent greasy buildup.
- Dry skin: Choose a hydrating primer with glycerin or hyaluronic acid. Avoid silicone-heavy formulas, which sit on dry patches rather than smoothing them.
- Combination skin: Apply mattifying primer to the T-zone and hydrating primer to drier areas.
- Mature skin: Avoid heavy pore-filling primers, which emphasize fine lines. A lightweight, luminous primer creates a smoother finish without settling into texture.
Apply primer in thin, even strokes and allow it to set fully before foundation, at least 60 to 90 seconds.
Choosing the Right Foundation Formula to Prevent Caking
The wrong foundation formula will cake regardless of prep. Matching formula to skin type is non-negotiable.
Dry skin needs hydrating foundations with emollient ingredients. Dewy or satin finishes work best; full-coverage matte formulas are too drying and will crack within hours. Oily skin performs better with oil-free, buildable-coverage formulas that control sebum. Combination skin benefits from natural or satin finishes that adapt across zones.
Avoid foundations labeled "full coverage" if prone to caking, they require precise technique and are less forgiving on textured skin. Buildable coverage formulas let you add layers only where needed, reducing overall product buildup.
Check for comedogenic ingredients if acne-prone. Non-comedogenic formulas are less likely to block pores and create uneven surfaces.
Age-Specific Formula Considerations
Mature skin, roughly 40 and above, faces specific challenges. Decreased sebum production means drier skin overall, and fine lines become natural traps for foundation. Formulas with peptides, antioxidants, and hyaluronic acid treat skin while providing coverage.
With mature skin, less is more. Heavy coverage ages the complexion rather than improving it. A lightweight, luminous formula applied in thin layers looks more natural and lasts longer than thick, full-coverage options. Avoid heavy powders, which emphasize texture and dryness.
Best Tools for Foundation Application
The tool you use changes how foundation sits on skin.
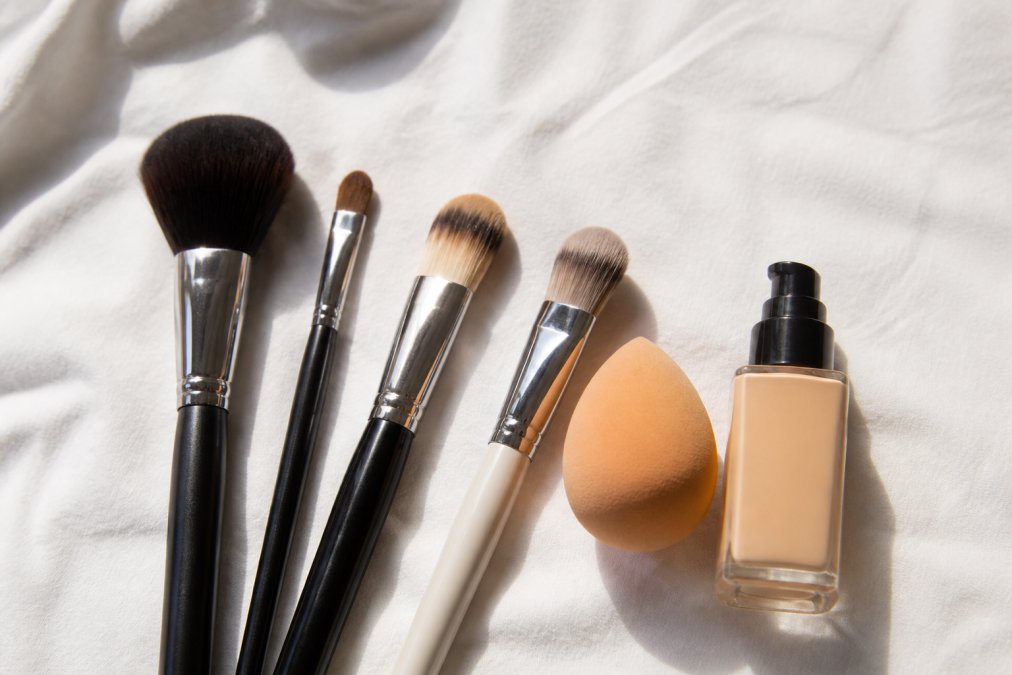
Beauty sponge (damp): A damp beauty sponge is the gold standard for preventing caking. The moisture dilutes product slightly as you apply it, making over-application nearly impossible. Use a stippling or pressing motion to push foundation into skin rather than sitting it on top.
Explore our premium makeup tools and accessories →
Foundation brush: A buffing brush with dense, flat bristles works well for buildable coverage using circular motions. The limitation: brushes deposit more product per stroke than a sponge, so apply in thin passes and build gradually.
Fingers: Underrated for dry skin. Body heat warms the formula, helping it melt into skin. Best for lightweight, serum foundations.
| Tool | Best For | Application Motion | Risk of Caking |
|---|---|---|---|
| Damp beauty sponge | All skin types, especially dry | Stippling/pressing | Low |
| Buffing brush | Oily/combination skin | Circular buffing | Medium if overloaded |
| Fingers | Dry/mature skin, light formulas | Pressing/warming | Low |
| Flat foundation brush | Full coverage looks | Stroking/blending | Medium |
Applying Foundation in Thin, Buildable Layers
The single most effective way to stop foundation from caking is to apply less of it, more strategically. One heavy layer almost always cakes; two thin layers almost never do.
Start with a pea-sized amount and apply to the center of the face first, where you need the most coverage. Blend outward toward the hairline and jawline, where coverage should be sheer. Build coverage only where needed, over blemishes, redness, or discoloration, rather than applying a second full layer across the entire face.
Environmental Factors: Humidity and Temperature
High humidity accelerates oxidization and causes oil-based formulas to break down faster, leading to a greasy, cakey finish by midday. Dry, cold air strips moisture from skin, causing foundation to crack and flake.
In humid conditions, switch to a water-based or oil-free formula and use a setting spray with oil-control properties. In dry or cold environments, prioritize hydrating formulas and avoid heavy powders, which compound dryness.
Setting Powder vs. Setting Spray for Dry Skin
Getting this choice wrong is one of the fastest ways to cause foundation caking.
Setting powder locks in foundation and controls oil. For oily skin, a translucent powder applied lightly extends wear and prevents shine. For dry skin, heavy powder application is a mistake, it sits on fine lines, emphasizes texture, and makes the complexion look dull and cracked. If you have dry skin and want powder, apply it only to genuinely oily zones like the T-zone, using minimal amount.
Setting spray is better for dry and mature skin. A hydrating setting spray melts makeup layers together, creating a cohesive, skin-like finish that resists caking. Mist lightly from about 30 centimeters away and allow to air dry.
According to dermatological guidance on skincare and makeup interactions, ingredients in setting products interact directly with skin's surface moisture levels, making product selection matter beyond personal preference.
How to Fix Cakey Foundation After Application
Foundation has already caked. Here's how to fix it without starting over.
Step 1: Mist with setting spray. Hold the bottle 25 to 30 centimeters from your face and mist lightly to reactivate the formula and soften cracked texture.
Step 2: Press with a damp sponge. Immediately after misting, use a damp beauty sponge to press over affected areas. The stippling motion blends softened product back into skin without removing your base.
Step 3: Remove excess product. If caking is severe, a piece of dry tissue pressed lightly absorbs excess buildup without disturbing the layer beneath.
Step 4: Spot-conceal if needed. Use a small brush to touch up areas where coverage has become uneven.
Step 5: Re-set strategically. Apply a light mist of setting spray to lock in the repaired look.
Step 6: Address the root cause. If foundation cakes consistently in the same area, that zone needs more moisture in your prep routine or a different primer formula.
Stopping foundation from caking consistently requires attention at every stage: skin prep, product compatibility, application technique, and setting method. For anyone who wants tools and formulas built to support that process, Cosmetikly offers professional-grade brushes, dermatologist-approved skincare, and high-performance formulas, including a radiant BB cream with SPF 30 protection and antioxidant-rich ingredients designed for lasting, breathable coverage. Explore Cosmetikly's premium makeup tools and accessories and build a routine that keeps your foundation looking fresh from morning through evening.
Frequently Asked Questions
Why does my makeup look cakey after a few hours?
Caking after a few hours usually comes from excess sebum breaking down your foundation, product buildup from over-application, or a mismatch between your moisturizer and foundation formula. Silicone-based primers paired with water-based foundations are a common culprit, the layers repel each other and separate over time. Switching to matched formulas, applying thinner layers, and using a light setting spray mid-day can help your complexion stay smooth well past lunch.
Is it better to apply foundation with a brush or a sponge?
A damp beauty sponge generally gives a more skin-like, blended finish that reduces the risk of caking because it presses product into skin rather than dragging it across the surface. A buffing brush works well for buildable coverage on normal to oily skin types. For dry or mature skin with fine lines, a damp sponge is the safer choice, it deposits less product per pass, which prevents product buildup in textured areas.
Does setting powder cause foundation to look cakey?
Setting powder can cause caking if you apply too much, choose the wrong formula, or use it on dry skin without a hydrating base. Translucent powder applied with a light hand sets oil without adding heavy coverage. On dry skin, a setting spray is often a better choice than powder. If you prefer powder, bake only in high-movement areas like under the eyes, and dust away any excess with a clean fluffy brush before it sets.
What can you mix with foundation to make it less cakey?
Mixing a small drop of a non-comedogenic facial oil or a hydrating serum into your foundation adds an emollient quality that keeps it from sitting heavily on the skin. This works especially well for dry or mature skin types. Avoid mixing products with incompatible bases, adding a silicone-based primer directly into a water-based foundation can cause pilling. Always patch-test any new combination on your jaw before applying it to your full complexion.
This article was written using GrandRanker