

How to Clean Beauty Blenders Effectively
Table of Contents
- Why Cleaning Your Beauty Blender Matters
- Step-by-Step: How to Clean Beauty Blenders with Soap and Water
- Best Cleanser for Beauty Blender: Soap Options That Work
- How to Remove Foundation from Makeup Sponge Stains
- How to Dry a Beauty Blender Properly
- How Often to Wash Makeup Sponges and When to Replace
- Common Mistakes to Avoid When Cleaning Beauty Blenders
- Frequently Asked Questions
Last Updated: October 8, 2026
Why Cleaning Your Beauty Blender Matters
A dirty beauty blender breeds bacteria and old makeup residue, causing breakouts, uneven application, and product waste. At Cosmetikly, we recommend cleaning your beauty blender at least once a week to maintain skin health and flawless makeup.
Your beauty blender absorbs foundation, concealer, and powder every time you apply makeup. Without regular cleaning, bacteria builds up inside the sponge and transfers directly to your skin, especially if you have sensitive or breakout-prone skin.
Clean sponges also perform better: a fresh, sanitized blender blends makeup more smoothly, distributes product evenly, and gives better coverage with less product. A well-maintained sponge also lasts longer before replacement.
Step-by-Step: How to Clean Beauty Blenders with Soap and Water
The simplest and most effective way to clean a beauty blender is with warm soapy water. This method removes makeup buildup and kills bacteria without damaging the sponge material.
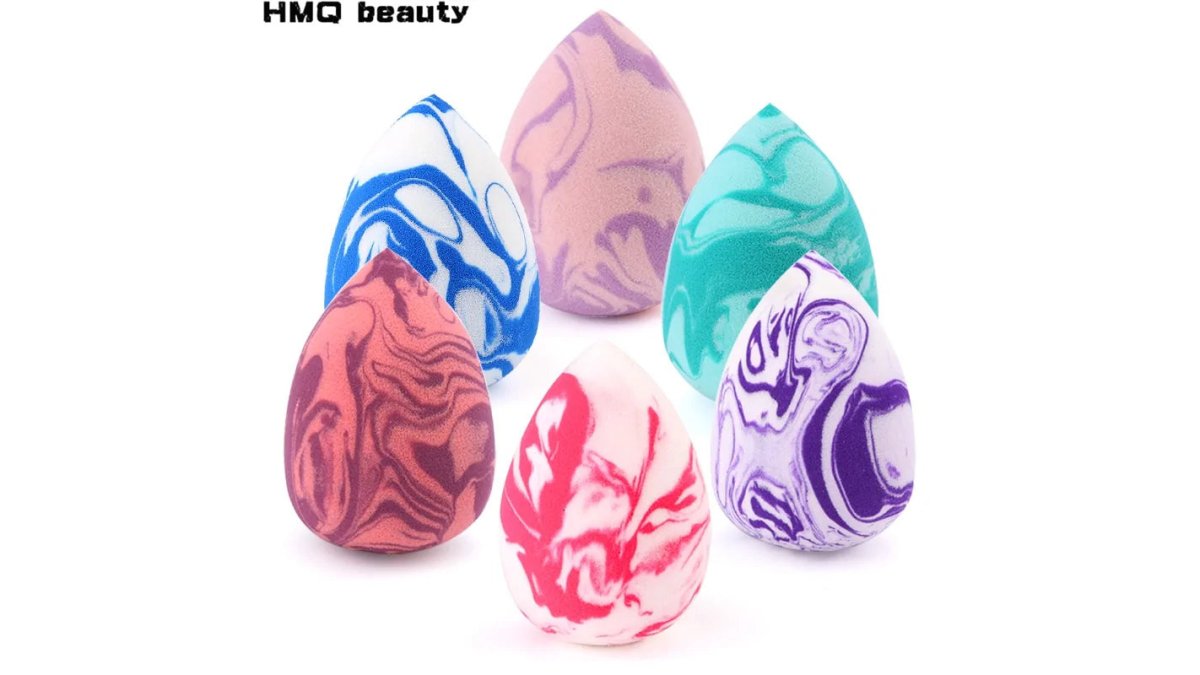
What You'll Need
- Warm water
- Mild soap or gentle cleanser
- A clean bowl or sink
- A clean towel
The Washing Process
Step 1: Wet your beauty blender

Run your makeup sponge under warm water until the entire sponge is wet. Warm water loosens makeup residue more effectively than cold water.

Step 2: Apply soap to the sponge
Squeeze a small amount of mild soap onto your wet blender, regular dish soap, baby shampoo, or a gentle facial cleanser. Avoid harsh soaps that damage the delicate sponge material.
Step 3: Massage and squeeze the sponge
Work the soap through the sponge by squeezing and massaging it, focusing on areas with visible makeup buildup.
Step 4: Rinse thoroughly
Hold the sponge under warm running water until the water runs completely clear, usually 30 seconds to one minute, as the soap and makeup residue rinse away.
Step 5: Remove excess water
Gently squeeze out excess water. Do not wring aggressively, as this damages the material and causes the sponge to lose its bounce and shape.
Best Cleanser for Beauty Blender: Soap Options That Work
You don't need a special product to clean your beauty blender, common household items work as well as branded sponge cleansers.
Mild dish soap cuts through makeup residue without being too harsh on the sponge material. A tiny drop goes a long way.
Baby shampoo is gentle enough for sensitive skin and delicate sponge materials, and leaves the sponge feeling soft.
Gentle facial cleanser works well if you already have one at home. Use a small amount and follow the same squeezing and rinsing process.
Solid soap bars work too: wet the sponge, rub it on the bar a few times, then squeeze and rinse as normal.
Avoid harsh antibacterial soaps and strong chemicals, which break down the sponge material over time and reduce blending effectiveness.
How to Remove Foundation from Makeup Sponge Stains
Stains are not all the same: the method that lifts light powder residue will not touch a long-wear, oil-based foundation. Matching the technique to the product trapped in the foam is what separates a sponge that rinses clean from one that stays tinted.
First, separate "stained" from "dirty"
A tinted sponge is not automatically dirty. Foam absorbs pigment, and lighter sponges show it more. The real test is whether the sponge rinses clear and smells neutral after washing, if so, the color is cosmetic, not a hygiene problem.
Match the technique to the makeup type
Water-based foundation and tinted moisturizer, Easiest to lift. A warm-water wash with mild soap usually removes them in one pass; if a tint remains, a 5-minute soak in warm soapy water before squeezing is enough.
Long-wear and transfer-resistant foundation, These film-forming polymers cling to foam. Soak in warm soapy water 10-15 minutes, then squeeze 15-20 times under running water; you may need two wash cycles.
Cream and stick concealer, Oil- and wax-heavy, so they resist plain water. A drop of grease-cutting dish soap works better than gentle facial cleanser.
Oil-based and cream foundation, Treat like concealer: dish soap or cleansing oil, then a mild soap wash.
Powder and blush residue, Usually rinses away with warm water alone; if caked into the foam, a short soak loosens it.
A targeted routine for stubborn stains
- Pre-soak. Submerge the sponge in warm (not hot) water with a drop of dish soap for 10 minutes.
- Work the soap in. Squeeze and release repeatedly, pump water through the foam, don't scrub the surface.
- Rinse and repeat. Rinse until clear, then wash once more with gentle soap to remove dish-soap residue.
- Check the core. Squeeze the sponge and look at the water that comes out; if still tinted, repeat the cycle.
What not to use on stains
- Bleach and harsh antibacterial cleaners, They can break down the foam, leave irritating residue, and are not necessary for a personal-use sponge.
- Hot water, Very hot water can degrade the material and cause it to lose bounce. Warm water is the ceiling.
- Rubbing alcohol, It can dry out and crack the foam over time.
- A washing machine, The agitation and heat will shred most beauty sponges.
When a stain means replace, not clean
Staining alone is not a reason to throw a sponge away. Replace it if the stain comes with any of these:
- A musty or sour smell that survives washing
- Dark spots that look like mold rather than pigment
- A slimy or tacky feel after drying
- Crumbs or foam particles coming off on your fingers
A clean, tinted sponge that blends well is fine to keep using. A stained sponge that smells or sheds is not.
How to Dry a Beauty Blender Properly
Drying is the step most people rush, and it determines whether your sponge stays hygienic between washes. A sponge still damp in the center becomes a warm, moist environment, exactly what mold and mildew need. The goal is a sponge dry all the way through, not just on the surface.
Air-drying: the default method
After rinsing, gently squeeze the sponge in a clean towel without twisting or wringing, then place it where air can move around all sides:
- On a clean, dry towel or a wire drying rack
- Standing upright on its flat base near a sink or counter edge
- In front of a fan or in a room with good airflow
Avoid laying a wet sponge flat on a non-porous surface like a countertop or inside a closed makeup bag, the side touching the surface stays wet longest, and that is where mildew starts.
How long it actually takes: Most sponges need 12-24 hours to dry completely in a warm, dry room; in humid weather or a closed bathroom, expect 24-48 hours. A sponge that feels dry outside can still be damp in the core, so squeeze it gently the next day, any coolness or moisture means give it more time.
Microwave drying: what the caution actually means
Some viral routines suggest microwaving a damp sponge 30-60 seconds to "sanitize" it. Here is what that advice gets wrong:
- Heat does not replace washing. Microwaving a sponge with makeup and soap residue inside just heats the residue, you still have to wash first.
- Not all sponges are microwave-safe. Latex-free and silicone-blend sponges may tolerate brief heat, but standard polyurethane foam can shrink, harden, warp, or smell burnt. Check the packaging first.
- Burn and fire risk is real. A nearly dry sponge can overheat or scorch. Never microwave a dry sponge, exceed the packaging time, or leave it unattended.
- It is not a substitute for replacement. Visible mold, persistent odor, or crumbling material will not be fixed by heating. Throw it out.
If your sponge is labeled microwave-safe and you want to try it, wash and rinse first, leave it damp (not soaking), microwave in short bursts, and let it cool completely. For most people, plain air-drying is safer, simpler, and just as effective.
Storing a dry sponge
Once fully dry, store the sponge where air can still reach it:
- An open drawer or a ventilated makeup organizer
- A mesh bag or a container with ventilation holes
- Away from steamy areas, a closed bathroom cabinet next to a hot shower is one of the worst spots
Never seal a sponge in a zip bag or closed compact while even slightly damp. When traveling, let sponges dry completely at your destination before packing them up.
How Often to Wash Makeup Sponges and When to Replace
Wash your beauty blender at least once a week. If you use it daily, weekly cleaning keeps it fresh and prevents bacteria buildup.
Wash more frequently if you have sensitive or acne-prone skin. Some people clean their sponge 2-3 times per week for extra hygiene.
Replace your sponge every 3-6 months. Even well-maintained sponges lose bounce and blending effectiveness over time, and may develop small tears that affect performance.
Replace sooner if you notice:
- Loss of bounce or shape
- Visible tears or holes
- Persistent odor even after washing
- Disintegration or crumbling material
- Reduced blending ability
A fresh sponge makes a noticeable difference. Cosmetikly offers high-quality makeup sponges designed to last longer and perform better. Our Makeup Blender Sponge ($11.99) provides seamless blending for foundation, concealer, and more, while our 4pcs Makeup Sponge ($10.99) offers great value and lets you rotate sponges while others dry.

Common Mistakes to Avoid When Cleaning Beauty Blenders
Mistake 1: Using water that's too hot. Extremely hot water damages the sponge material; warm water is effective and safer.
Mistake 3: Storing a damp sponge. A wet sponge in a closed container breeds mildew. Always air-dry completely before storing.
Mistake 4: Using harsh chemicals. Strong cleaners, bleach, or antibacterial products break down the sponge material and can irritate skin later.
Mistake 5: Waiting too long between cleanings. Bacteria grows quickly in a damp sponge.
Mistake 6: Wringing out the sponge aggressively. Twisting or wringing causes permanent deformation; gentle squeezing removes water without harm.
Mistake 7: Forgetting to replace old sponges. A worn-out sponge won't blend effectively no matter how clean it is.
Keeping your beauty blender clean is one of the easiest ways to improve your makeup application and protect your skin. Explore our Makeup Sponge ($7.99) for everyday use, or stock up with our multi-packs so you always have a fresh, clean sponge ready.
Frequently Asked Questions
Can I use dish soap to clean my beauty blender?
Yes, gentle dish soap works well for cleaning beauty blenders. Mild dish soap effectively removes makeup residue and buildup without damaging the sponge material. Avoid harsh or antibacterial formulas, as these can degrade the sponge over time. Warm soapy water is one of the most accessible and budget-friendly methods for regular cleaning.
How often should you wash makeup sponges?
Most beauty experts recommend washing your makeup sponge at least once weekly, and ideally after every few uses if you apply foundation daily. Frequent washing prevents bacteria buildup, extends the sponge's lifespan, and ensures flawless blending. If you notice visible makeup residue or discoloration, clean immediately rather than waiting for your regular schedule.
What's the best way to remove foundation stains from a beauty blender?
For stubborn foundation stains, soak your sponge in warm soapy water or micellar water for 10-15 minutes before washing. Gently massage the stained areas while wet to help release the makeup buildup. For particularly set-in stains, apply a small amount of cleanser directly to the problem area and let it sit briefly before rinsing thoroughly until the water runs clear.
How do I know when to replace my beauty blender?
Replace your beauty blender when it becomes visibly torn, crumbles easily, loses its bounce, or develops persistent discoloration that won't wash out. Most sponges last 3-6 months with regular use and weekly cleaning. Investing in quality replacements like Cosmetikly's Makeup Blender Sponge ensures consistent blending and prevents bacteria accumulation that can compromise your skin.